5 Things To Do When You Get The Blue Screen of Death
The infamous blue screen of death error is something every Windows user runs into sooner or later. It’s a frustrating problem, as it’s difficult to troubleshoot and can pop up out of nowhere.
In this blog, we will walk you through some basic tips on how to fix a blue screen on Windows 10, as well as providing resources for specific blue screen error codes.
1. Note Your Windows Blue Screen Stop Code
You’re probably having a bad day if your computer freezes and displays the blue screen of death. The first thing you need to do is figure out what error has happened so that someone can fix it for you, but to get there quickly, we recommend noting all important information related to this problem – including any errors or debug messages as well!
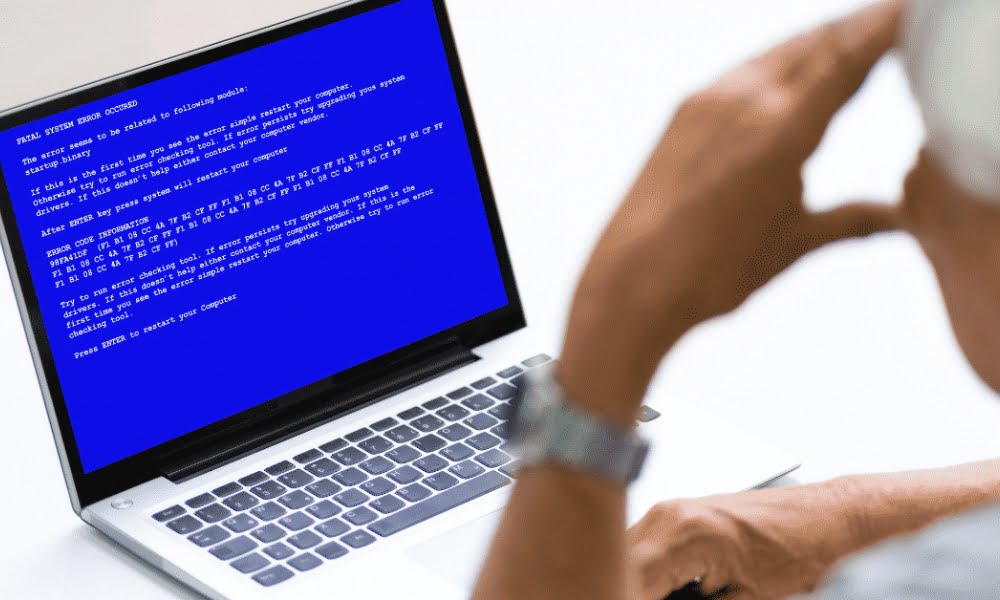
In Windows 10, a BSOD contains a sad face emoticon, along with a simple error message. Below this, you’ll see a link to Microsoft’s blue screen troubleshooting page, a QR code, and a Stop Code field. If you want, you can scan the QR code with your phone’s camera to jump to a Microsoft support page.
2. Review Recent Computer Changes
One of the most frustrating things about system troubleshooting is when you make a change and then get an error. Sometimes these changes can introduce harmful elements to your otherwise stable environment, but identifying them will help us figure out what went wrong!
For example, if you just installed a new printer, try unplugging it from your computer to see if the blue screen persists. If you recently ran a Windows update, head to Settings > Update & Security > Windows Update and click View update history.
On the next page with the list, click Uninstall updates at the top and remove the most recent update to see if that solves the problem.

The same goes for software. If you started noticing the blue screens after installing a new program, try removing the app and see if that fixes your issues.
3. Check for Windows and Driver Updates
While bad updates can sometimes introduce issues, oftentimes Microsoft and third-party companies issue updates to fix problems like these. Visit Settings > Update & Security > Windows Update and apply any pending updates, just in case they hold the fix.
It’s important to check your drivers, as they can often be a source of Windows 10 blue screens. Press Win + X (or right-click on the Start button) to open the power user menu. Then choose Device Manager to open that utility.
Here you check for yellow triangle icons on any entries, which indicate a problem with the driver. Double-check any devices that appear with this, as you may need to reinstall the driver or remove the device.
4. Run a System Restore
The System Restore feature in Windows allows you to return your system to a previous state. It’s a handy troubleshooting tool, as it’s simple to use and lets you see if your issue is software-based.
Type recovery into the Start menu and open the Recovery Control Panel entry that appears. Here, click Open System Restore to launch the tool. After clicking Next once, you’ll see a list of restore points you can return to. Select one, then hit Scan for affected programs if you want to see what software will change.

Running a System Restore doesn’t affect your files, but it will uninstall any drivers or software you’ve installed since the restore point was made. In addition, it will reinstall anything you removed since that time.
Confirm your system restore, then you can start the process. This will take a few moments, then you’ll be back to your system like it was at the time. If you don’t get blue screens after this, your problem was likely software related.